Add a Cookbook
OK, from the top, always make sure you're logged in to your account. To follow along, let's make sure we're on the same page, hit the "Home" button - top header menu. The box at the top of the left hand sidebar is your account navigation.
The first step is simple, you need to create the top level cookbook container that will hold your cookbook elements (covers, recipes, pages, and chapters which are optional).
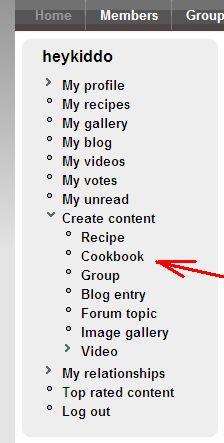
1. From your user navigation box, top left-hand sidebar, click on the "Cookbook" link to create a new cookbook.
This will bring up the "Create Cookbook" form.
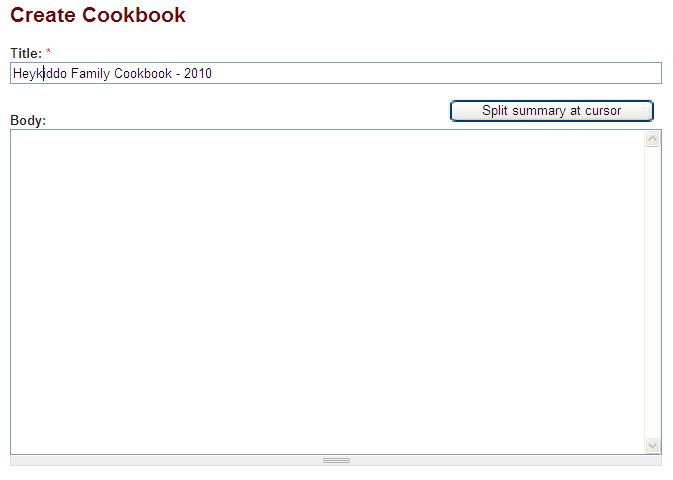 2. Provide a title for your cookbook. We'll call our cookbook "Heykiddo Family Cookbook - 2010".
The title is all need to enter on this form. The contents of the body field will display on your online cookbook page, but is not included in the published cookbook for printing (PDF). You can use this field for notes about your cookbook, but not necessary.
There are other fields on this form that we'll talk about later. Just ignore for now. All you have to do next click on the "Save" button at the bottom of the form to save your new cookbook.
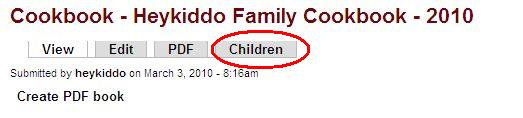
3. This brings you to the cookbook view. There are several tabs for working with your cookbook. Notice the "Children" tab. This will let you work with the various elements that you add to your cookbook (covers, recipes, pages and chapters).
Go ahead and click on the Children tab.

The Children tab provides links to add new chapters, covers, pages and recipes and will also display a list of these elements after you have created and added them to your cookbook.
The cookbook is empty, so let's start adding elements. We'll add a cover, an inside title page and a recipe.
Click on the create a new child "Cookbook cover" link to add your cookbook front cover.
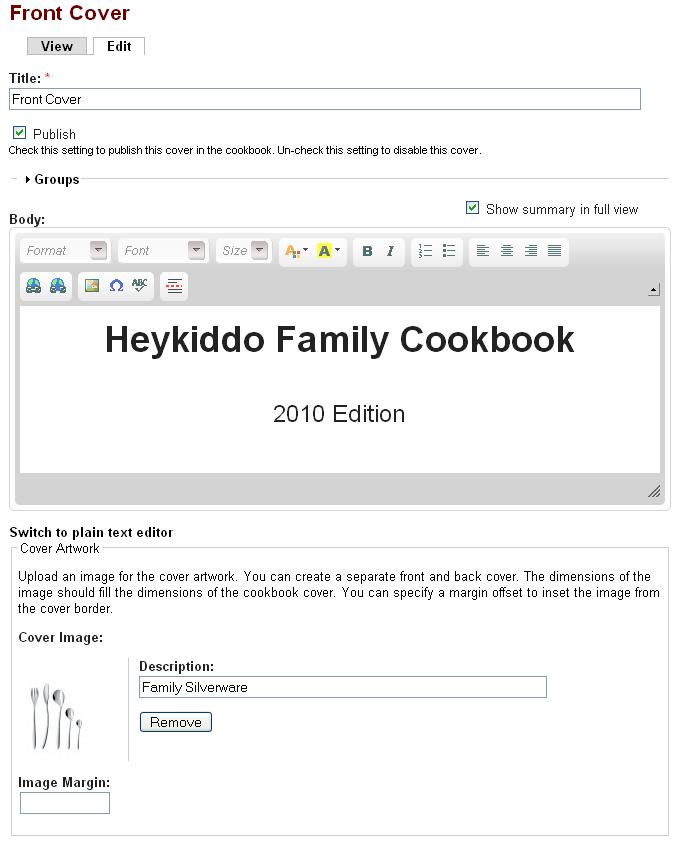 4. The cover form is shown to the right.
Enter a title. The title only serves as a reference in the list of cookbook elements, it is not displayed on the cover when printed (PDF).
With any cookbook element (cover, recipe, chapter, page), you can set or disable the 'Publish' option. Setting the Publish checkbox will include the element in the PDF. Unchecking the Publish option will exclude the element from the PDF. This allows you to work on a particular element, but suppress actually printing the element in the PDF until you are finished editing.
Any contents you place in the 'Body' section will display on the cover output. Here we've simply provided the cookbook title and the edition year, in larger font sizes with the "Heykiddo Family Cookbook" line set to bold.
You can upload an image in the "Cover Artwork" section. The image will serve as a background image for the cover page, and by default, will expand to fill the entire page (8 1/2" by 11"). A 1024x768 pixel image is a suitable resolution and aspect ration (width to height) to fill an 8 1/2" by 11" page.
The Image Margin field allows you to set a margin around all four sides. This will cause the background image to resize inside the rectangle defined by margin. For example, a margin of 4 will offset the background image 4 pixels from the edges on all four sides of the 8 1/2" by 11" cover. This can look a little cleaner than filling the cover with the background image all the way to edges.
Any text that you provide in the "Body" section will overlay or print on top of the background image. In this example, we created enough empty white space at the top of the background image (using an image editor such as Photoshop) to allow room for the cover page text to display.
You can also choose to insert and position images from within the Body section, rather than work with a background image. The advantage of the background image is that you can overlay text on top of the background. So you have several options and flexible ways to layout a combination of artwork and text on your cookbook covers.
Note: cookbook covers don't display any headers, footers or borders, only what you provide in the "Body" section or the background image.
When you're satisfied with the cover page setup, hit the Save button at the bottom of the form. We'll see what the cover page looks like when we view the cookbook PDF a little bit later in this tutorial.
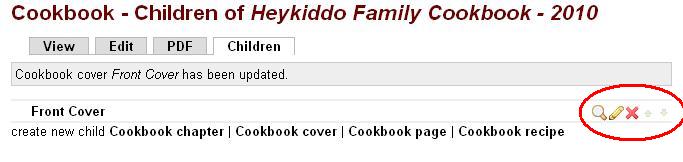
This takes you back to the "Children Tab". Notice the "Front Cover" cookbook element that now shows up in the list of children. The little icons to the left let you view the item (magnifying glass), edit the item (pencil), delete the item (red X), and the small up and down arrows will let you re-order the item in the cookbook (grayed out here because there is only one element in the list).
5. Next, let's add an inside title page. Click on the "Cookbook page" link to create a new page.
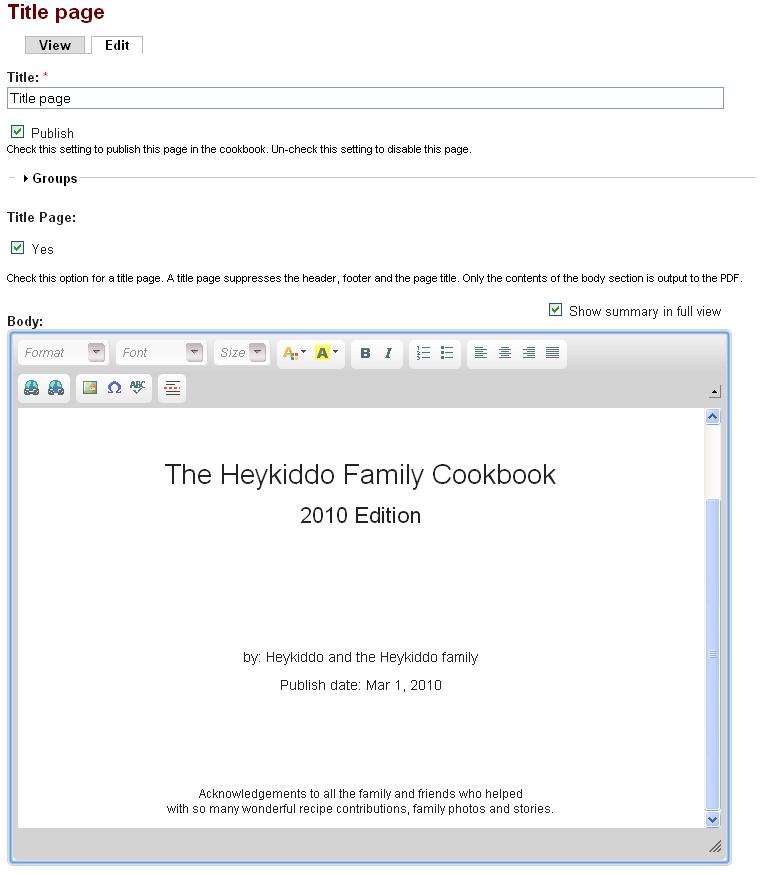 This brings up the cookbook create/edit page form as shown to the right.
Enter the title of the page. Normally, this title will display at the top of the page and you'll want to choose a suitable title that describes the story or content of this page.
However, for the inside title page, let's check the "Title Page" option to suppress the default header and footer as well as the page title from displaying. This provides a better format for a title page style.
For other pages where you would typically include a one or two page story, you would leave the "Title Page" unchecked to display the default page header and footer and include the page title at the top.
Enter the page content in the "Body" section and format the text to display as desired.
If you have a longer, multi-page story or section you want to include, you don't need to break the content up across separate cookbook page elements. Enter the full text of your multi-page content into the "Body" section of the page and the system will automatically create the pagebreaks, format the headers and footers and flow the text across the the subsequent pages.
Hit the "Save" button at the bottom of the form to commit your changes.
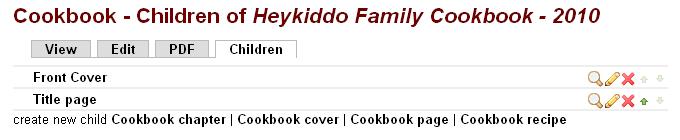
Which brings us back to the "Children" tab. Notice the "Title Page" element as the second item in the list.
Now let's add a recipe to the cookbook. Click on the "Cookbook recipe" link.
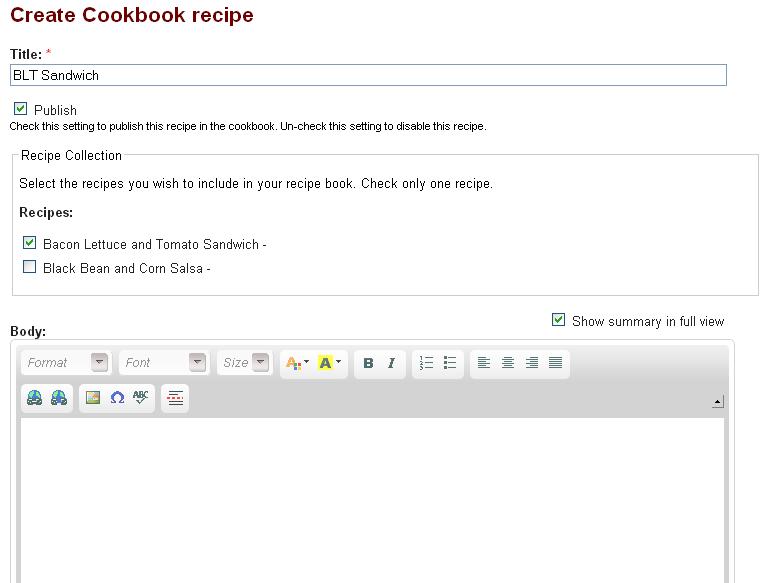
6. The recipe form works a little differently than the other cookbook elements.
You're not actually creating the recipe here. Rather, you are plugging in recipes that you've already created elsewhere in the system (use the recipe forms to add the actual recipes).
Think of this as a place holder to plug in a recipe you've already entered on the site. This also allows you to include the same recipe in multiple or different cookbooks (not unusual to use the same recipe in different cookbook versions).
In the "Recipe Collection" section, select one of your recipes by checking the checkbox next to the recipe name. Only select a single recipe, one per cookbook recipe placeholder.
You can ignore the Body section, or you can keep notes in the "body" section if that's useful. This content is not output to the cookbook PDF.
In the "Title" field at the top, give this recipe place holder a name (so you can identify the recipe in the cookbook element list - children tab) and hit the "Save" button at the bottom of the form.
Which brings us back to the "Children" tab.
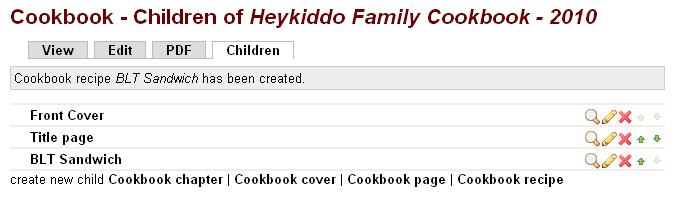
Now continue doing more of the same, adding pages, recipes and a back cover to complete your cookbook.
Breadcrumbs
As you move through the different forms, tabs and pages building your cookbook, you'll find the breadcrumb navigation (red bar under the top level menu) helpful to keep track of your bearings. Breadcrumb navigation, as the name suggests, provides a trail of links that helps you get back to where you came from.

View, Edit and PDF tabs
The View tab will give you the front view listing of your cookbook.

From the View tab you have a list of the cookbook elements, similar to the Children tab, but without the icons to edit, delete and re-order the cookbook elements, and without the links to create/add new cookbook elements (use the Children tab for that). You also have a link to create the PDF at the foot of the list.
The Edit tab will let you edit and update the top level Cookbook (parent). To edit/update the cookbook elements (children), use the list of elements from the front View tab, or better yet, use the Children tab and click on the pencil icon to edit an item.
You can also view the cookbook PDF from the PDF tab.
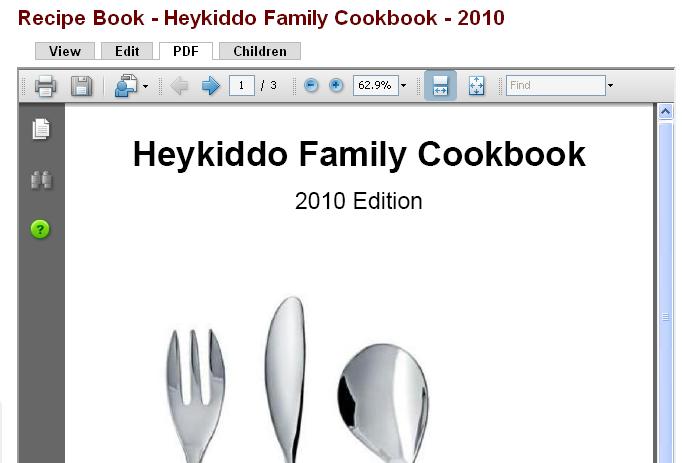
This brings up an inline PDF viewer. Select the "Print" icon to print your cookbook. Select the "Diskette" icon to save a copy of the cookbook PDF file on your local computer.
Once you've created one or more cookbooks, you can access your cookbooks from the "My recipes" page.
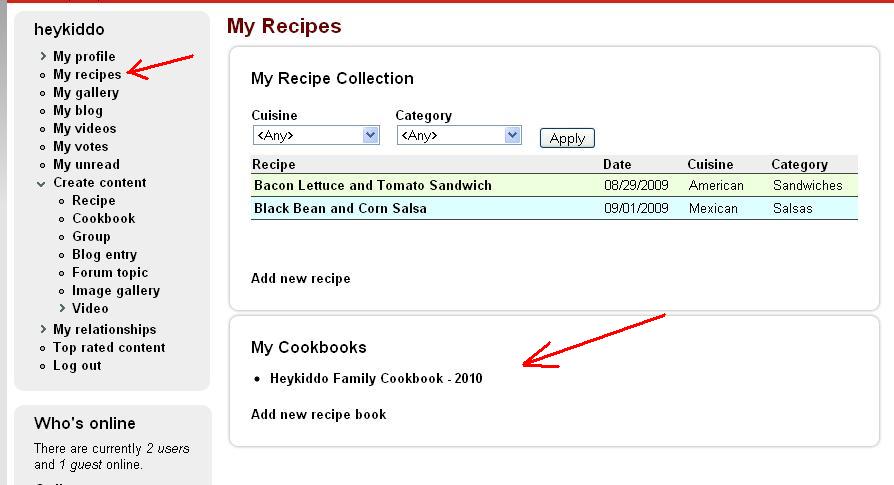
The "My recipes" link is in your account navigation box, top left-hand sidebar. And any cookbooks you've created will be listed in "My Cookbooks" section of the "My Recipe" page as shown above.
If you'd like to view the cookbook PDF we've just put together, click on the following link.
